Argonaut Highlights
The front page of the Argonaut digital collection features a randomly generated “front page” made of snippets from Argo issues through the years. This provides an engaging entry point to scan the weird and interesting contents of Argonaut and invite people to explore. Users can click on a highlight to visit the related Argonaut issue.
Choosing Highlights
While working on metadata for Argonaut issues you will be browsing the contents of each PDF. If you find a story, headline, ad, or image that is particularly interesting, you can create a highlight to be added to the front page feature. Think about snippets that are:
- representative of the era (e.g. the common ads from the 1950s)
- represents important university events, places, history, or figures (e.g. fire in admin building)
- reflects important international events/news (e.g. students to WWII)
- fun, weird, wacky, and/or unexpected content
Every issue does not need a highlight, but we aim to have a handful of highlights from each year over all.
Create a Highlight
Once you find an interesting highlight, use a screenshot tool to grab an image directly from the PDF.
- Zoom in on the area of the PDF (if necessary).
- Use a rectangular selection to closely outline the highlight (close cropped).
- Save the screenshot as a PNG carefully following the naming convention:
objectid_size_title.png. - Upload to your Google folder.
Getting the filename of the highlight correct is important since it provides the metadata that will link it to an Argonaut issue.
Please carefully create the filename following the naming convention, with no spaces or weird characters.
Each part of the name is joined by an underscore (_).
Every highlight image filename will follow the pattern:
objectid_size_title.png
Where:
objectidis the ID of the PDF you captured it from (this follows the patternarg-yyyy-mm-ddand can be found in the link to the PDF or PDF filename)sizeuse sm, md, lg, or xl to indicate the number of columns the highlight should take up in the web page display (horizontal width).smis 1 column (~25% of the news page)mdis 2 columns (a medium image, two column article, or ad, etc)lgis 3 columns (a large image or ad, etc)xlis 4 columns (typically a headline that crosses the full page width)
titleis a descriptive word to make your filename unique. Do not use spaces or weird characters. e.g.frogs,play,cigs.
The file extension will be either .png or .jpg as created by your screenshot program (most default to PNG).
Don’t change the extension.
For example:
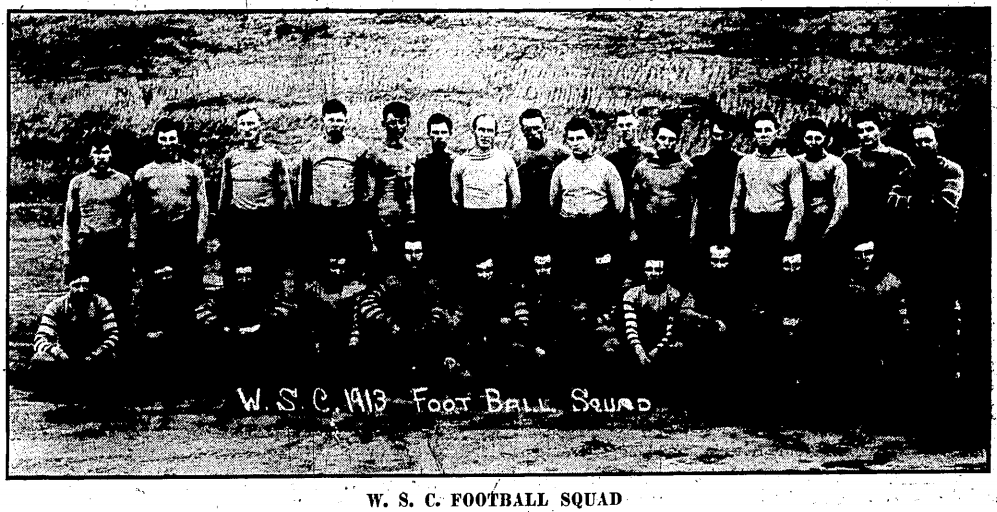
arg-1913-10-16_md_football.pngmight be a medium photograph of the football team from the front page of arg-1913-10-16.arg-1985-10-11_sm_jacket.pngmight be a small ad for the “Miami Vice jacket” found on page 11 of arg-1985-10-11
md = 2 column width, ~%50

sm = 1 column width, ~%25
Screenshot Tools
- Windows: “Snipping Tool”, use the “Rectangular Snip” option.
- Mac: use the keyboard shortcut
Command+Shift+4. A crosshair cursor will appear. Click and drag the cursor to capture your selection. When you’re happy with your selection release your mouse. The screenshot will be saved to your desktop. - Linux: “Screenshot”, use “Select area to grab” option.
File Renaming Tips
- Your operating system might hide file extensions by default. You can change the settings by looking in the view menu for options in your file explorer.
- You can rename files on Google Drive: right click on the filename and select “rename”.